In the field of industrial design and steel construction, efficiency, precision, and seamless integration of design tools are key success factors. Industry professionals face technical, economic, and time-related challenges that require high-performance software solutions. SolidSteel for SOLIDWORKS stands out as a parametric 3D modeling solution dedicated to steel construction within SOLIDWORKS. This innovative tool allows engineers and designers to save valuable time while meeting industry standards and optimizing the design process from initial sketches to fabrication.
Target Market for SolidSteel for SOLIDWORKS
SolidSteel for SOLIDWORKS is primarily aimed at engineering firms, civil engineers, steel fabricators, manufacturers of steel structures, and any company specializing in steel construction. It is especially useful for businesses that work on complex structural projects such as industrial walkways, frames, or structures for specialized machinery. Its deep integration with SOLIDWORKS makes it a natural choice for users already familiar with this widely adopted CAD platform in the industrial sector.
This product is also ideal for manufacturing companies equipped with CNC production workshops, as data export in the DSTV format facilitates the transition from digital design to physical fabrication. The target market is therefore broad, ranging from SMEs to large international companies in construction, energy, transportation, or heavy manufacturing industries.
Added Value and Problems Solved with SolidSteel
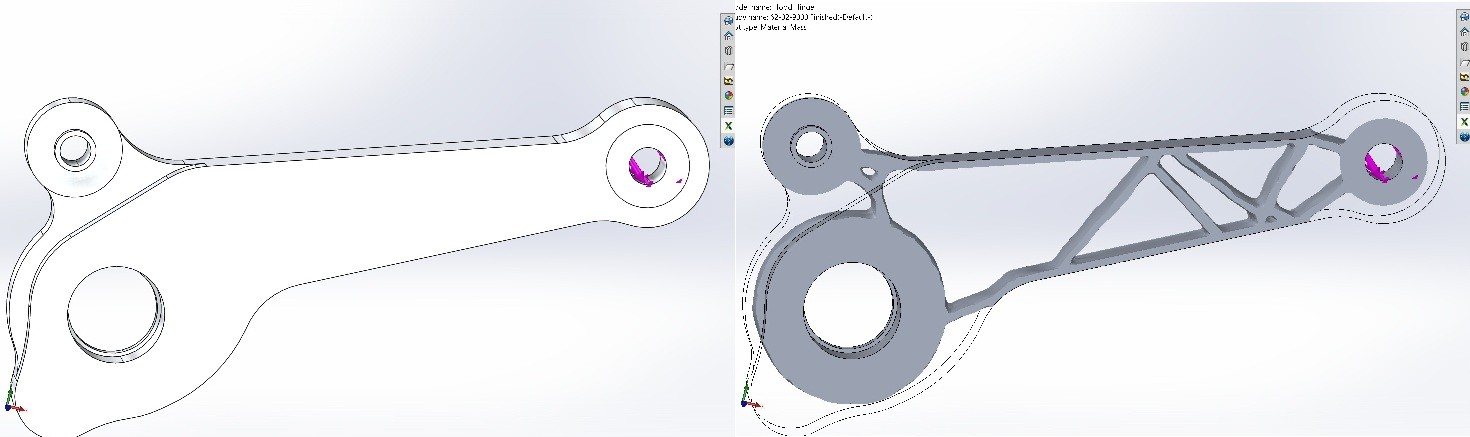
While designing steel structures in SOLIDWORKS is possible, it can quickly become tedious and time-consuming using only standard tools. SolidSteel for SOLIDWORKS fills this gap by providing features specifically tailored to steel construction:
-
Automatic generation of standard profiles according to DIN, EN, ASTM, and other norms
-
Automated connections (welds, bolts, base plates, etc.)
-
Calculation and management of cuts, notches, and complex angles
-
Fast creation of fabrication drawings and part lists
-
Integration of manufacturing and assembly constraints at the design stage
-
Libraries of standard components to save time on repetitive projects
-
Generation of complex assemblies with interference management
Thanks to these features, SolidSteel for SOLIDWORKS eliminates human errors, shortens design timelines, and improves the overall quality of metal structure projects. It also enables companies to be more competitive by allowing them to respond quickly to tenders with accurate designs, automated quotes, and realistic planning.
Seamless Integration into SOLIDWORKS
One of the major strengths of SolidSteel for SOLIDWORKS is its native integration within the SOLIDWORKS interface. Unlike external software solutions, SolidSteel functions as a natural extension of the engineer’s daily work environment. Users benefit from a consistent ergonomic experience without needing to learn new software or change their existing workflow.
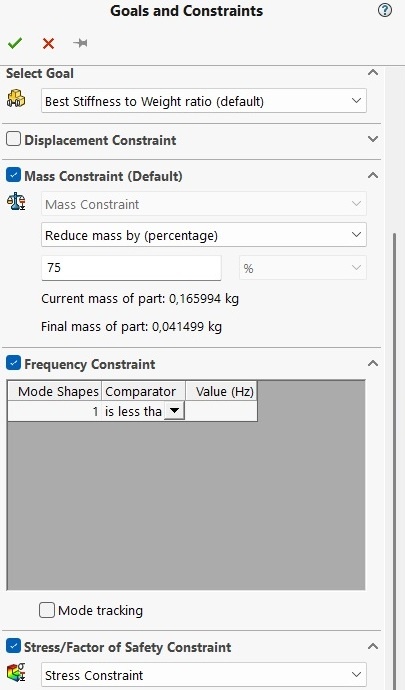
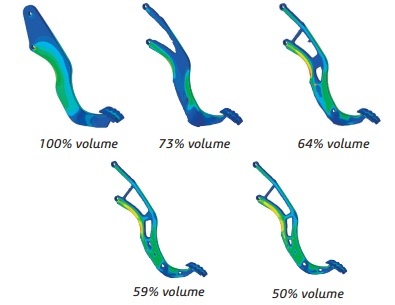
With bidirectional integration with other SOLIDWORKS modules, users can combine SolidSteel for SOLIDWORKS with structural simulation (SOLIDWORKS Simulation), stress analysis, or technical documentation generation (SOLIDWORKS Composer), thus enhancing efficiency and precision throughout the entire process.
This integration also allows users to leverage all the powerful features of SOLIDWORKS (assemblies, configurations, drawings, simulation, etc.) while adding specialized tools for steel design. This synergy ensures a smooth workflow from design to production.
Competitive Advantages of SolidSteel
SolidSteel for SOLIDWORKS offers several advantages that set it apart from the competition:
-
Intuitive interface tailored to SOLIDWORKS users
-
Advanced customization of connection templates
-
Fast modeling with intelligent placement tools
-
Compatibility with international standards
-
Automated documentation and traceability features
-
Scalable solution based on client needs
These benefits help companies standardize their design processes while maintaining the flexibility needed to meet specific project requirements. SolidSteel for SOLIDWORKS is therefore a strategic tool for digital transformation in the steel industry.
Training Offered by Solidxperts on SolidSteel for SOLIDWORKS
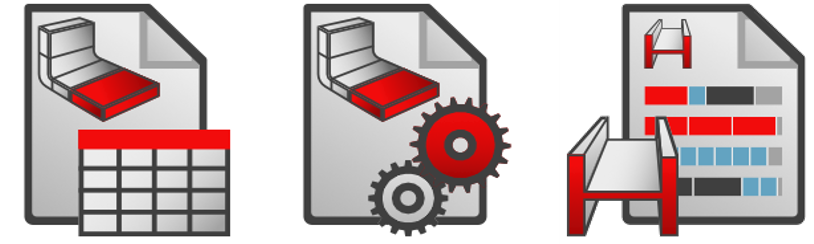
To help professionals get the most out of SolidSteel for SOLIDWORKS, Solidxperts—an expert SOLIDWORKS solutions partner—offers a comprehensive range of training programs tailored to various needs. These training sessions cover the different SolidSteel modules:
-
SolidSteel Parametric for accurate and parametric 3D design of complex steel structures
-
SolidSteel Frame for rapid creation of steel frames and structures
-
SolidSteel Manufacturing for fabrication preparation, including production drawings and assembly management
Training includes:
-
Hands-on sessions with each module in the SOLIDWORKS environment
-
Best practices for modeling steel structures
-
Creation of smart and customizable connections
-
Automatic generation of drawings and BOMs
-
Production process optimization
-
Export to DSTV format for automated machining of profiles in the workshop (crucial for interoperability with CNC production lines in the steel construction industry)
-
Automation of technical documentation and bill of materials
Solidxperts offers flexible training formats: online, in-person, onsite at the client’s location, or at their own facilities. In addition, personalized post-training support is provided to ensure proper integration of SolidSteel for SOLIDWORKS into the team’s daily operations. Advanced workshops can also be arranged on topics such as connection optimization, BIM export, or project revision management.
Use Cases and Customer Feedback on SolidSteel for SOLIDWORKS
Several companies that have adopted SolidSteel for SOLIDWORKS report significant gains in productivity and quality. For example, a steel construction firm reduced its complex structure design time by 40% thanks to automatic connection and drawing generation. Another company integrated DSTV files directly into its CNC machines, eliminating intermediate reprogramming steps.
These success stories highlight the tangible impact SolidSteel for SOLIDWORKS has on project profitability. It’s not just a design assistant. It’s a true catalyst for efficiency and innovation.
The Future of Steel Design with SolidSteel for SOLIDWORKS
SolidSteel for SOLIDWORKS is much more than just a plugin: it’s a comprehensive solution that transforms how steel structures are designed, documented, and manufactured. With its seamless integration, powerful tools, and specialized training offered by Solidxperts, professionals gain a strategic edge in both efficiency and quality.
By combining technical performance, industry compatibility, and human support, SolidSteel for SOLIDWORKS empowers companies of all sizes to advance their digital transformation. For any business looking to streamline steel design while relying on the reliability of SOLIDWORKS, SolidSteel is the obvious choice.
Whether you’re an engineer, drafter, project manager, or workshop supervisor, SolidSteel for SOLIDWORKS helps you tackle the challenges of modern steel construction with precision, speed, and confidence.
Ready to take your steel design process to the next level? Contact Solidxperts today to learn how SolidSteel for SOLIDWORKS can transform your projects.

Any questions? Need help? Ask one of our experts.
Whether you’re ready to get started or just have a few more questions, you can contact us toll-free: